Finally, I had enough of it. Whenever I turned on my Vitamix, it was all or nothing—high or higher. The variable speed dial stopped working. No matter what speed the Vitamix was set to, I could only choose from high or flip the switch to super turbo.
This led to several protein shake explosions (It didn’t help that we lost the center cap to the Vitamix lid.) and a noise that my four-year-old would run from.
The good news is, it was an easy fix: just four screws and a $34.18 replacement part.
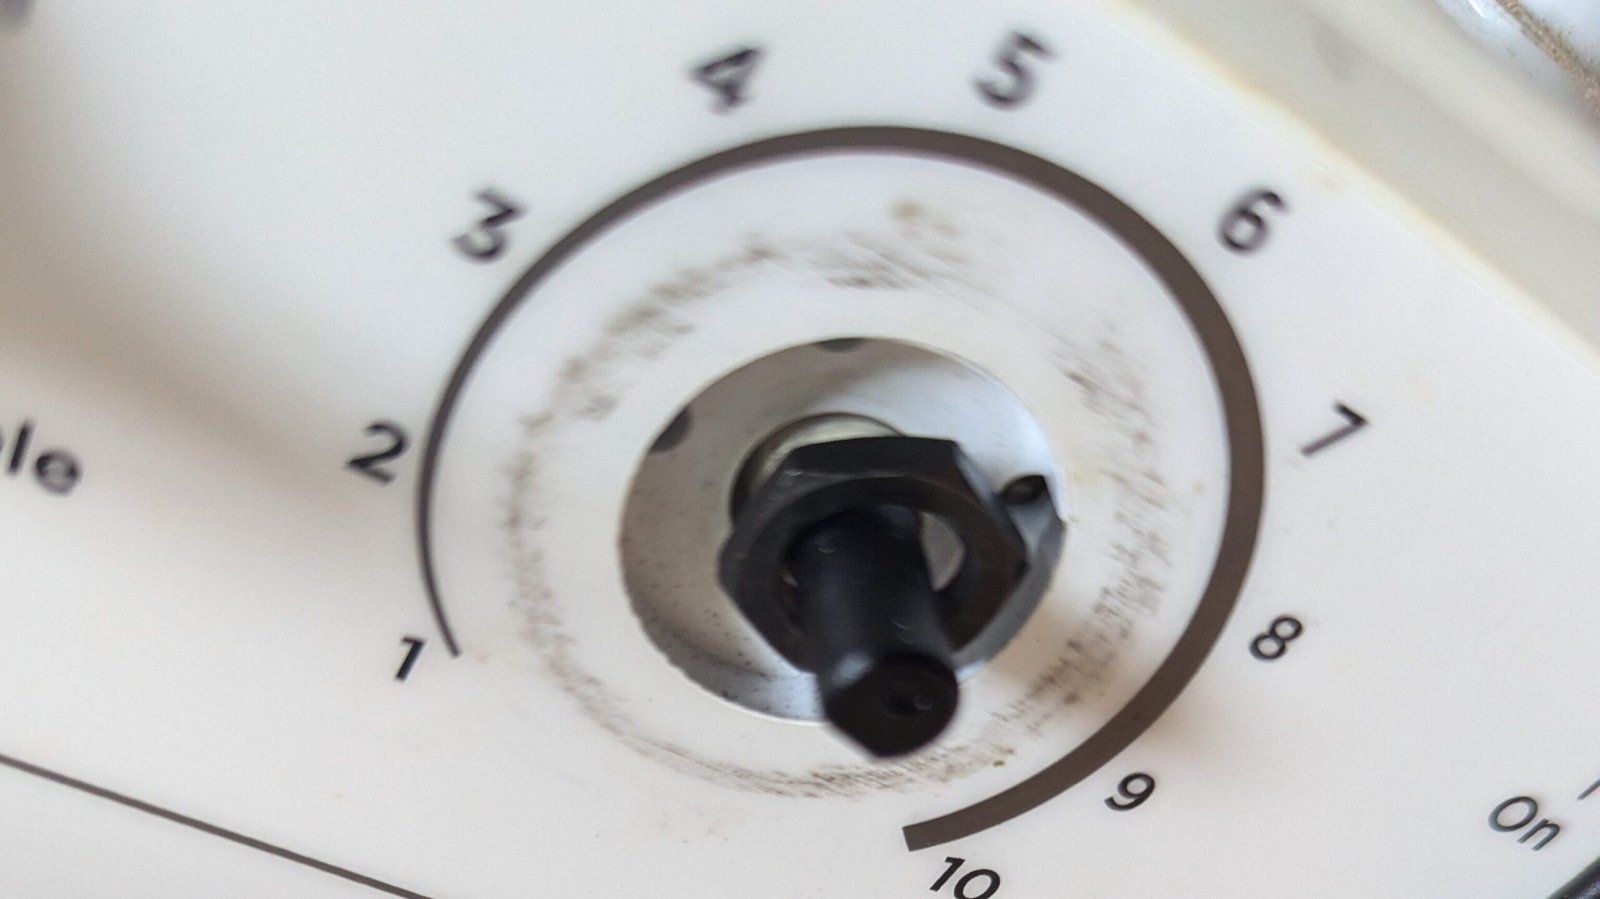
Before
Turning the speed dial does not change the speed.
After
The speed increases and decreases when I turn the dial.
The Cause
The speed control dial connects directly to a “potentiometer,” or, as I’ve seen them, erroneously referred to as a “rheometer.” A potentiometer regulates the voltage supplied to the blender’s motor, allowing for precise adjustment of the blending speed.
It’s probably a faulty potentiometer
If you can’t control the speed of your Vitamix, the potentiometer on the other side of the dial is probably the problem.
In my case, one of the two wires had detached from the potentiometer, which (luckily) only disabled the variable speed control instead of entirely breaking the circuit and shutting down the Vitamix altogether.
The Solution
Fixing this issue couldn’t be easier. All you need is a screwdriver (and maybe a butter knife).
Step 1. Get your tools and parts
You only need three things:
- A replacement potentiometer to replace your faulty potentiometer
- A Philips head screwdriver to disassemble your Vitamix. (Yep, that’s it!)
- A butter knife (Really.) This can help to pry things apart

You can get this Vitamix brand replacement potentiometer on Amazon for only $35.
Step 2. Disassemble your Vitamix
Safety first! Remember to unplug your Vitamix.
I learned that disassembling a Vitamix is surprisingly easy. The potentiometer is accessible by removing only four screws.
- Remove the rubber form on the top of the blender base, and you’ll see the four screws that connect the top of the base to the bottom.
- Unscrew the four screws.
- Remove the top of the base. This is one time that a butter knife or a flathead screwdriver comes in handy.
Step 3: Replace the Vitamix potentiometer
- Pull the viable speed dial off of its rod and remove any fasteners holding it in place. (A butter knife might help.)
- Remove the potentiometer (on the other side of the dial).
- Trace the wires from the potentiometer to the control board.
- Remove the quick-connect terminals at the ends of the potentiometer wires from the tabs. (This is another place where a butter knife comes in handy.)
- Remove the old potentiometer. (You might need to cut the wires to get it out cleanly.)
- Place the new potentiometer into the hole in the front of the blender and tighten the fastener.
- Slide the new potentiometer’s quick-connect terminals onto the tabs.

Disconnect the old terminals and connect the new ones
That’s it! Place the top back on, plug it in, and test it out!
What Vitamix models does this apply to?
Losing the variable speed functionality is a wear-and-tear issue that is more common to the older models of Vitamix blenders. All of these models have similar construction and use the potentiometer part number #15955 to control the blender’s speed.
Here are some Vitamix models that use the Potentiometer 15955:
- Vitamix 5000
- Vitamix Super 5000
- Vitamix 5200
- Vitamix TurboBlend 4500
- Vitamix Prep 3Vitamix Pro 500
- Vitamix Vita-Prep (Vita-Prep 3)
- Vitamix Professional 200
- Vitamix Total Nutrition Center
These models generally have a variable speed dial on the front, allowing you to fine-tune the blending speed. The potentiometer converts the dial’s physical position into an electrical signal that adjusts the motor speed.
Good luck! I hope you find fixing your blender as satisfying as I did!
Easy fix, but it didn’t work! There appears to be no voltage across the potentiometer. Is there a solution?
Same here!
There was a reddit comment saying they had the same issue where they changed the pot but it didn’t work, in their case it was a capacitor, “It turns out the problem was due to a very small capacitor (22uf 6V) in the corner of the circuit board.”
I have a vitamix 5000 with a faulty potentiometer switch. Under the rubber gasket on top, where there are four screw holes. I do not see the heads of the screws. I see the end of the screws, which seem to be of a self tapping variety.
Also, a 2mm allen wrench does not seem to fit into the gear drive part on top. Smaller and larger does not seem to fit either.
Any ideas?
My potentiometer varies from 2 ohms up to 5.3 k ohms and the mixer has the same fault as your first video. Do you know what the resistance range is supposed to be for a food potentiometer as my guess is mine is working ok leading towards a circuit board fault? Thanks